As a photography enphusiast, all-around nerd, and a “moon dork” as once lovingly described by my wife, you can bet I was excited for this year’s total solar eclipse. I had originally settled for only seeing it partially from North Carolina, but several months ago my wife and I impromptu decided to make an adventure out of it. Looking at the map and convenient flights, we settled on visiting Toronto and seeing the eclipse in the Niagara Falls area.
It was an absolutely amazing experience that I’d highly recommend to anyone. While my main goal was for my family to be able to see it in person, I wanted to try my hand at photographing the eclipse as well since I had made it this far. This post serves as a way to capture my process and share what I’d do differently next time around.
Planning
While we had decided Toronto as our home base for the weekend, I was still a little unsure as to where in Ontario we’d actually watch the eclipse. Due to the path of the eclipse being mostly over Lake Ontario and Lake Erie, it limited our spots on land. We had originally planned for Niagara Falls, but so did an anticipated million others. I settled for Brock University in St. Catharines, Ontario. They had an event planned and it seemed like a great way to keep my young kids engaged as well.
Since capturing photos was a goal, I also needed to acquire a bit of extra gear. I picked up a solar filter for camera rig (think eclipse glasses for your camera) and rather last minute decided to pick up an extender to give my 100-400mm zoom lens twice the reach.
The Pivot
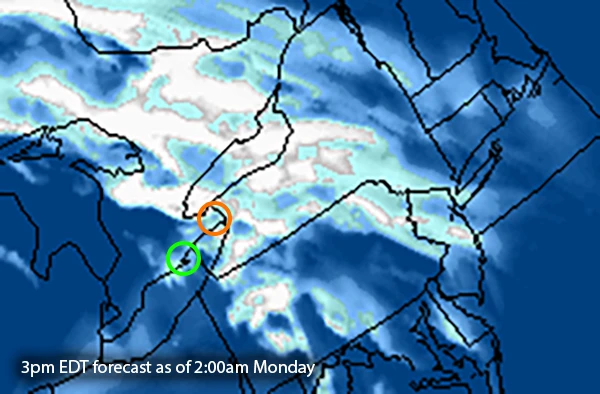
I’d been checking the weather forecast religiously all week, but Sunday evening was when I really became concerned with all the clouds in the forecast. We had just explored Niagara earlier in the day with crystal clear skies, but a front was on its way through bringing overcast skies. While there was still some hope the system would move quickly to the east, I needed a backup plan. Looking at the Canadian Government’s cloud cover forecast and the eclipse map next to each other, I settled on the Port Dover area which had nearly as much time in totality as St. Cathatrines, but much less cloud cover.
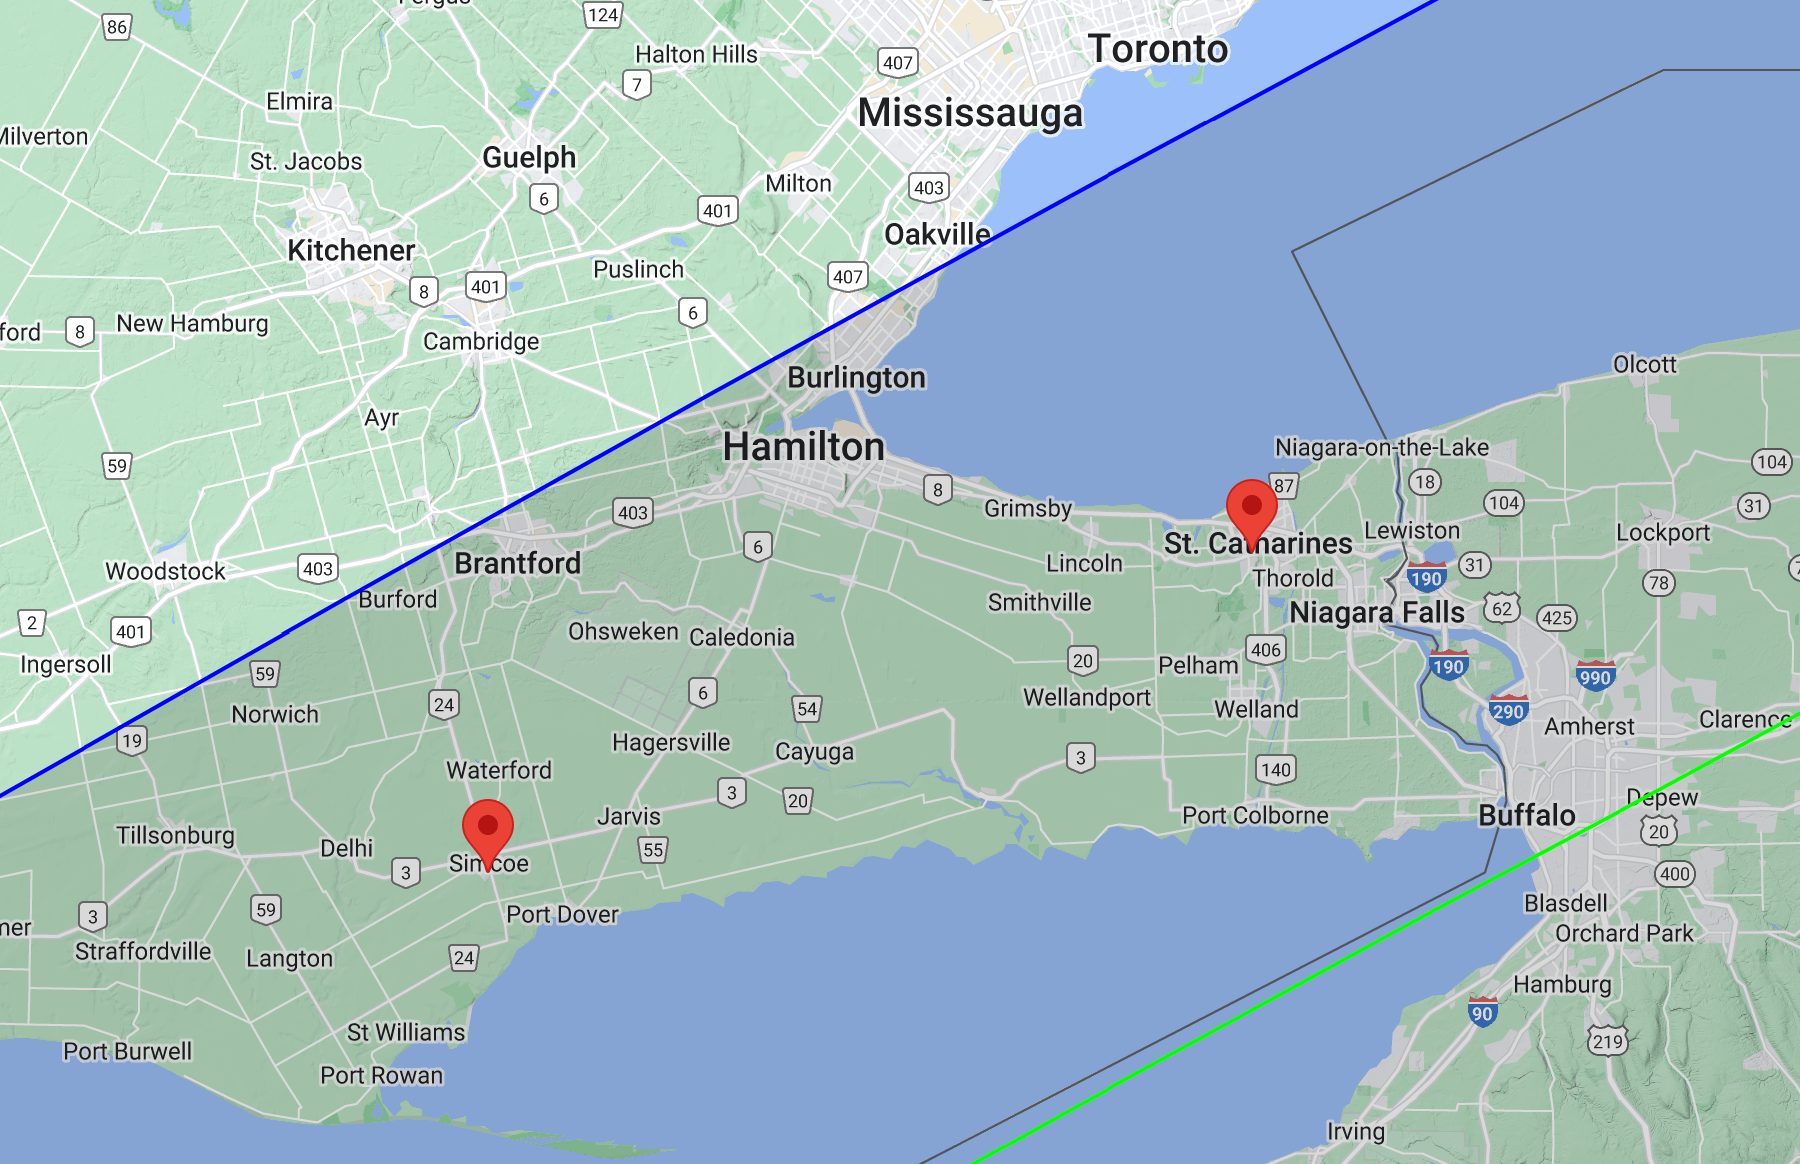
Late Monday morning after we finished our last Toronto attraction, I checked the forecast again after the latest model runs: St. Catharines was covered by heavy clouds and Port Dover was looking clear. That settled it. After frantically looking for spots on Google Maps, I settled on a park in Simcoe, Ontario.
3 hours later with bits of heavy traffic, we made it to Grant Anderson Park around 2:45pm. The park was full of people donned with glasses observing the partial eclipse that had started earlier in the hour.
The Process
I realize this post is turning into one of those recipes where you have to scroll for miles past the author’s life story, but nevertheless you’ve arrived.
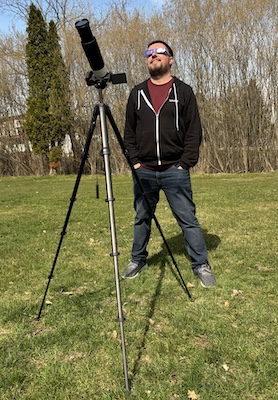
Gear
Here’s what I carried across the border to capture the eclipse. I had a shorter zoom and some short prime lenses, but didn’t use them for this part of my trip.
Camera Body: Canon EOS RP
Lens: Canon RF 100-400mm f/5.6-8 IS USM with Canon RF 2x extender
Solar Filter: Thousand Oaks Optical
Accessories: tripod and wired remote
Partial Eclipse
Due to traffic, I had less than 30 minutes to setup my gear before totality, so I was a bit rushed out of the gate. My largest aperture was already limited to f/16 due to using the extender, so I locked my shutter speed down to ~1 second and let my camera’s auto exposure calculate the rest. It worked pretty well, though I wish I had underexposed a bit. Autofocus worked okay at the beginning despite the small aperture. I bumped it a few times and had to re-adjust. I didn’t have any tracking equipment, so I reframed the sun as it moved every few minutes.
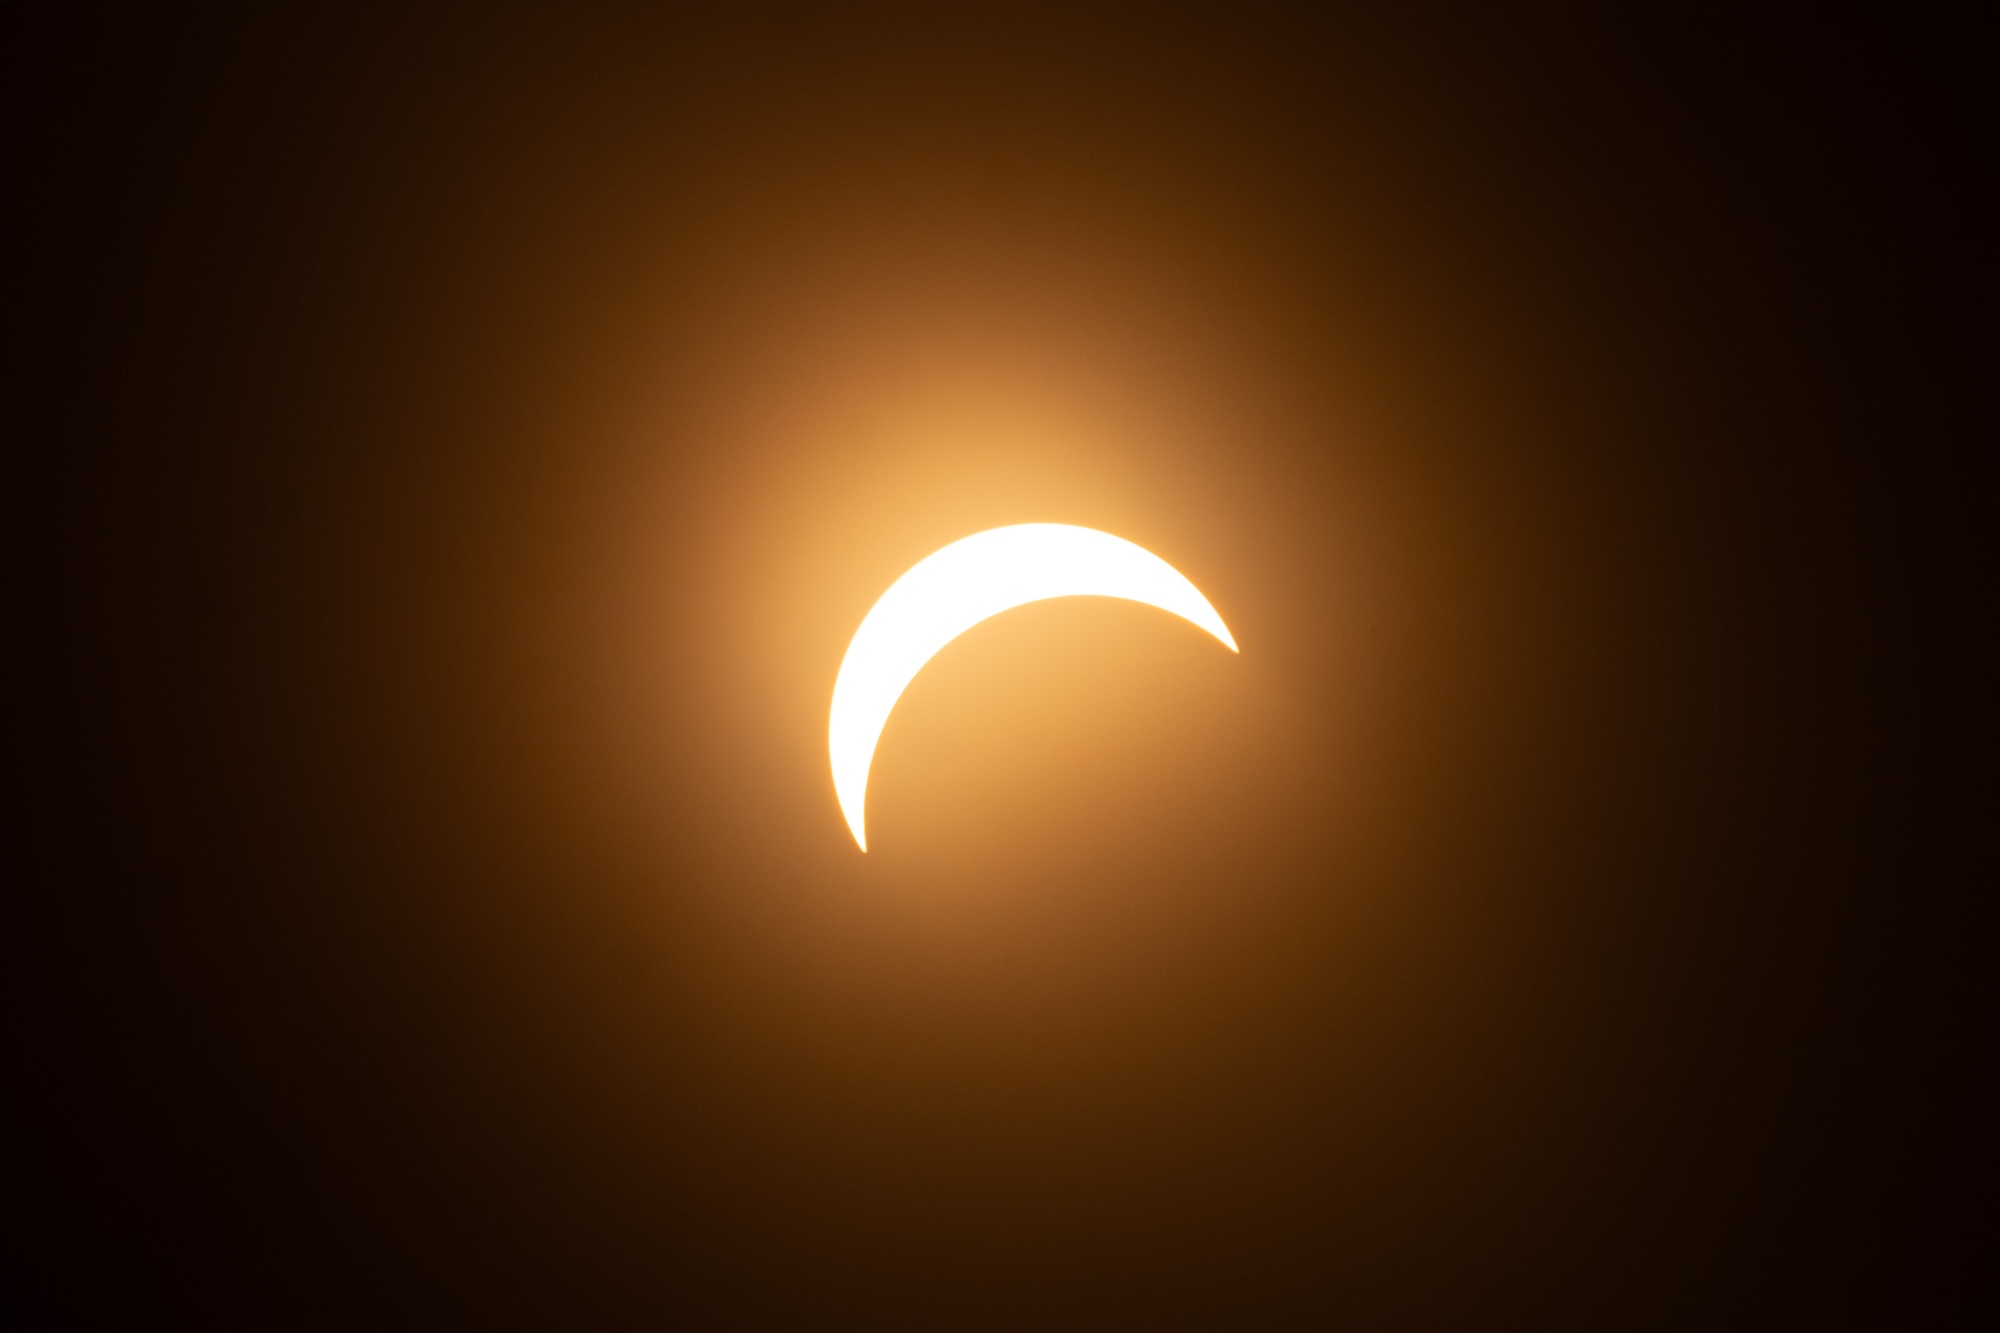
I didn’t take a ton of pictures during the partial eclipse as I was balancing time behind the camera and with my family. It was super cool observing the sunlight darkening, the air cooling, and our shadows changing as we neared totality.
Totality
Now the glasses (and solar filters) come off. I lack words to describe how amazing totality of the eclipse was. Between hearing the cheering of hundreds of people sharing this experience nearby, seeing how excited my kids were, and gazing at the now-visible corona of the sun, it’s truly something I won’t forget.
I went into manual exposure for this phase. I kept my aperture at its widest f/16, then found a good balance at ISO 400 and 1/160 second shutter speed. I wouldn’t need to adjust until the end of totality, so this seemed like a good spot to lock it in.
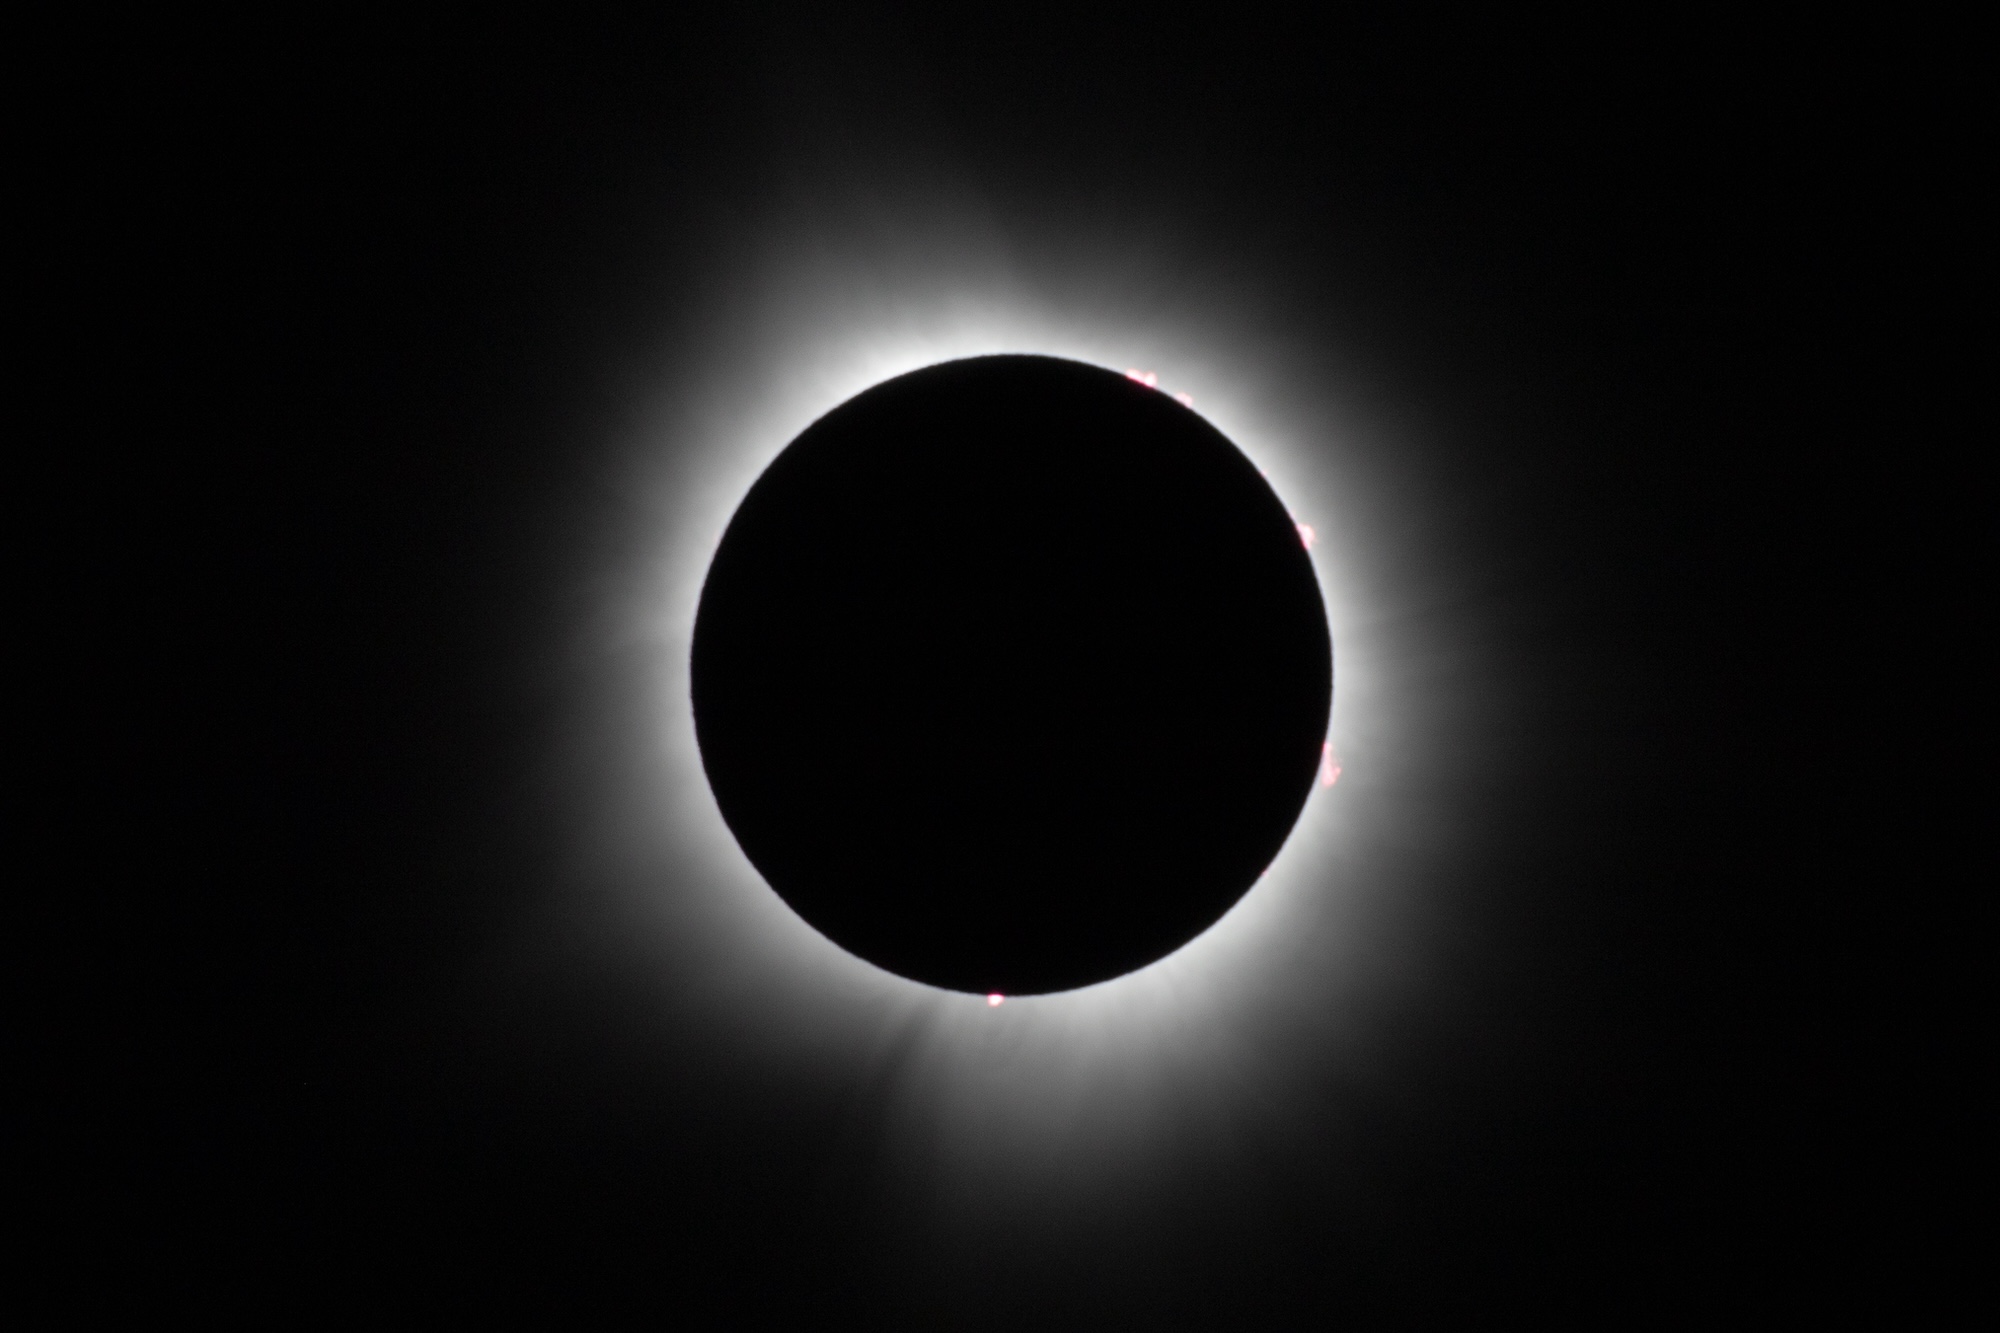
I only took about 20 shots over the 3 minutes of totality, making sure I had time to take it in with my own eyes as well.

A few light clouds started to roll in as totality ended, making for some pretty cool texture as the diamond ring emerged. This was one of my last shots before putting the solar filter (and my glasses) back on.
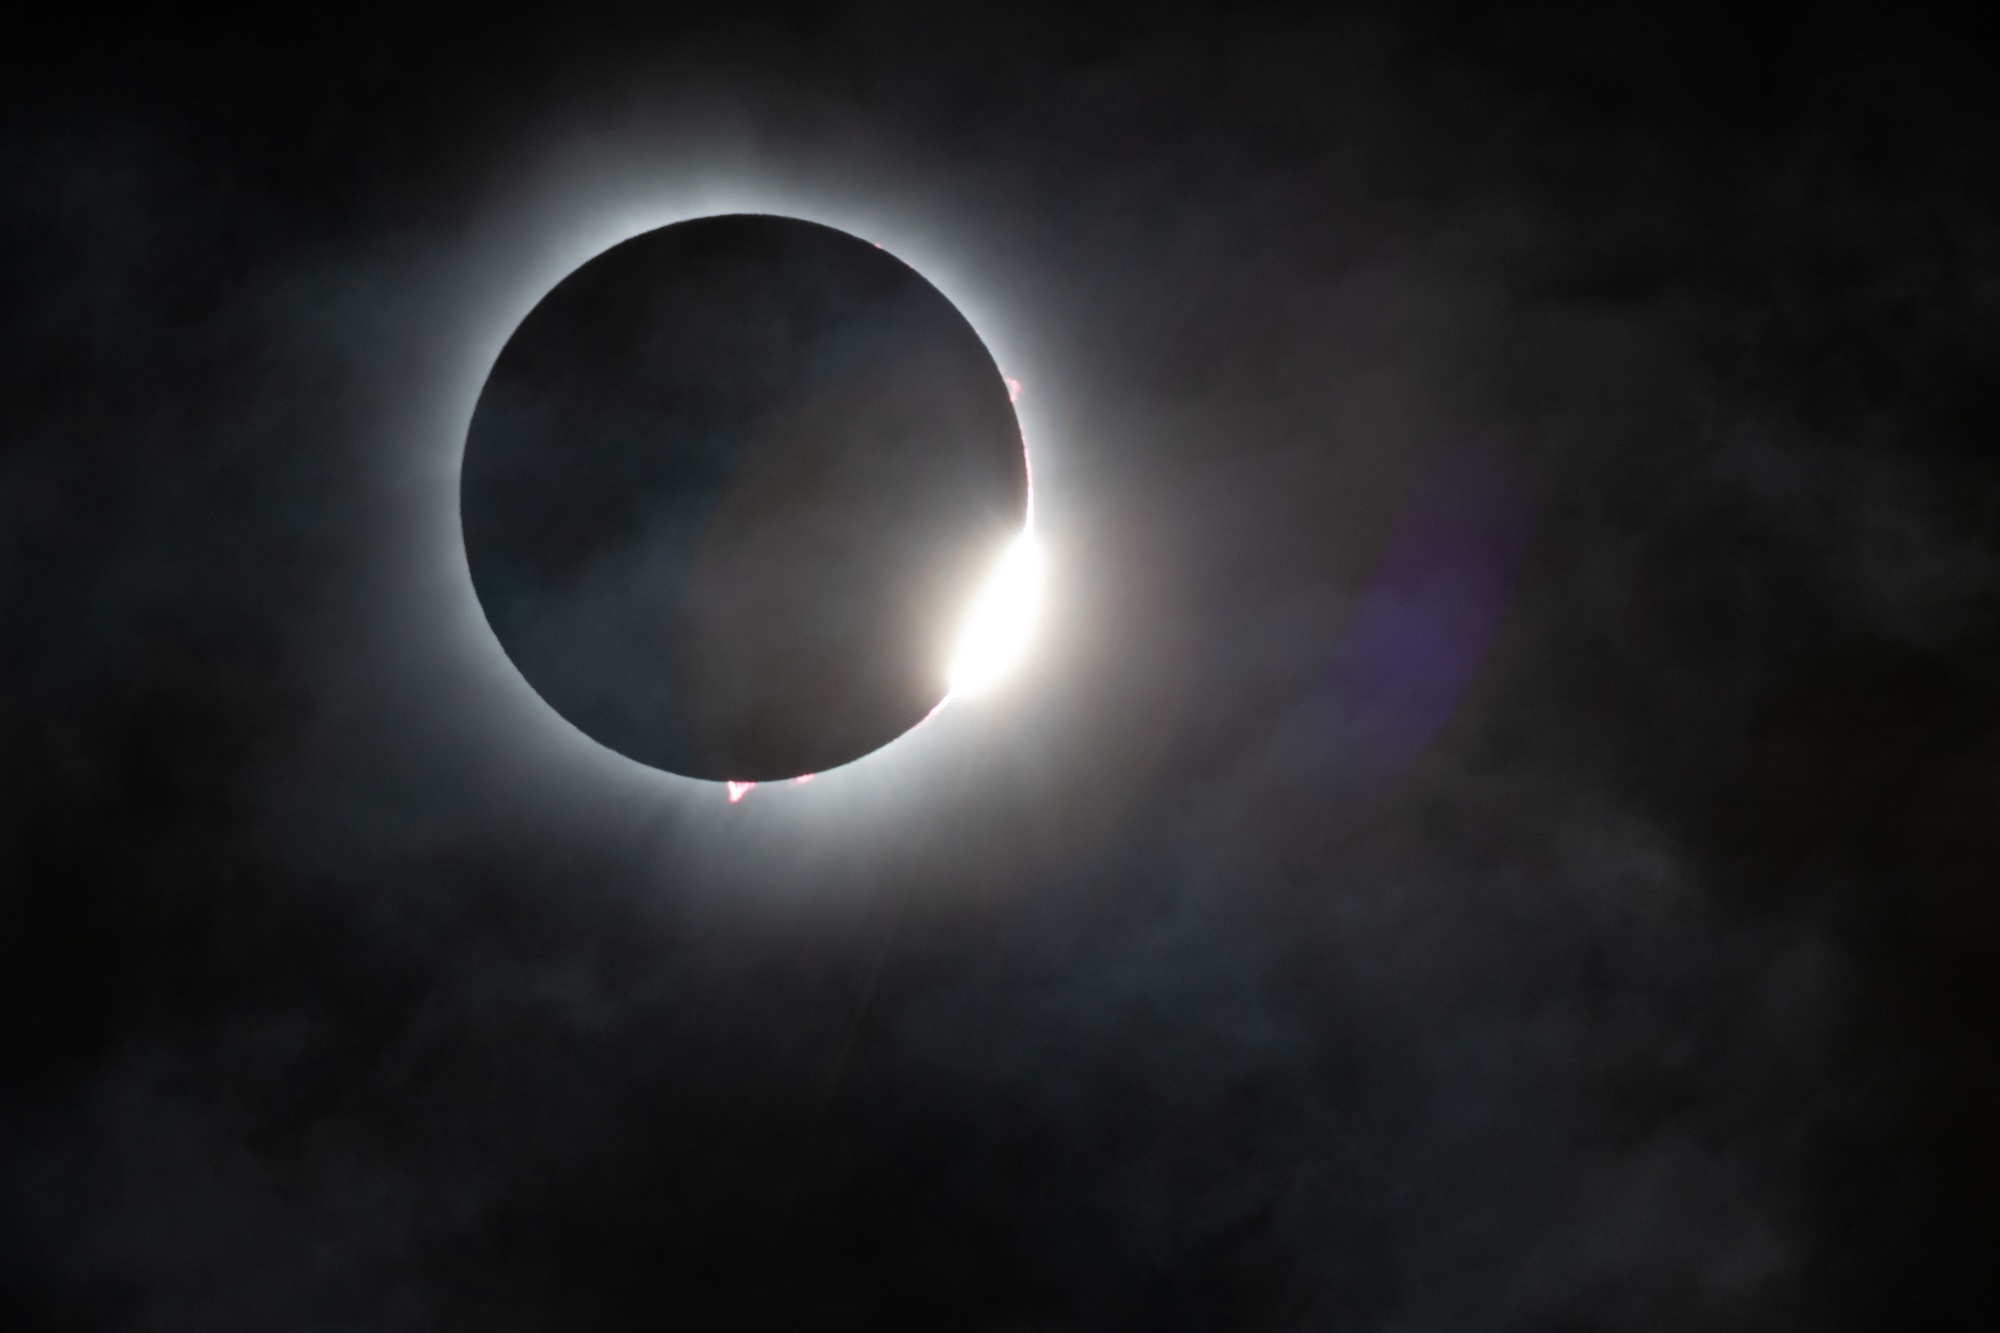
At this point, I took a few more shots but mostly just breathed a sigh of relief: I got the “money shot” already and my family got to experience this celestial phenomenon with barely any clouds in the sky.
What I’d Do Differently
I’m perfectly happy with how things turned out: I had amazing weather, my kids were amazed, and I had a blast capturing some photos along the way. But I’d be remiss to say things couldn’t be improved. Here are a few things I’m keeping in mind for next time I do this.
-
More time!: Traffic was a wildcard, so I really should have boxed out some more time to reach my destination. I think the initial rush prevented me from experimenting more during the partial eclipse phase.
-
Exposure bracketing: The corona had the most dynamic range and likely could have benefited from some exposure bracketing to capture more detail like the red flare-like prominences peeking out in the corona. Plus as conditions change rapidly, having more exposures to choose from would have been useful.
-
More wide shots: I didn’t exactly have a scenic view, but I only got one <800mm shot on my phone. I’ll seriously consider renting a second camera body to take some consistent wide shots. I’ve seen plenty of cool layered shots tracking the sun across the sky through the different phases of the eclipse, which would be doable with a second rig.
-
Less exposure is more: I’m so used to shooting in low light with high ISO that I tend to try and get exposure right on-camera. In this case, I wish I had lowered my exposure compensation some in an attempt to better see sunspots during the partial eclipse. My ISO remained fairly low, so I would have had plenty of room to brighten things up while editing. Yet another reason to bracket exposure.
-
Practice makes perfect: There’s nothing preventing eclipse glasses and solar filters from working the rest of the year. I regret not taking an hour or so to just practice exposure with the full sun at home when I wasn’t against the clock.
All in all, I had an amazing experience and can’t wait to attempt this again one day.